Make Your Own Earthbox
Make your own Earthbox out of mostly garbage. Check out this video to see if it is worth the effort.
Cheap and Easy Cutting Board
By April
As I was perusing the interwebs one evening, I came across someone showing how she used a pre-made small table round to create a food display board. There weren’t really instructions, she just held up the board and stated how she got it. I thought, “Cool, I can do that,” and then I set out to do it. I went to the hardware store and bought an unfinished table round similar to this and some food safe butcher block finish like this. I sanded the board down with sandpaper that I had at home and applied a few coats of the butcher block finish, sanding between coats after allowing them to dry.
A few days later Caroline came over with some steel wool and gave it a really good sanding, getting it much smoother. At this point, I turned the project over to her because I hate sanding things. Caroline likes sanding things, so it all worked out.
After letting the board dry for 72 hours after the last coat of finish, I washed and dried the board per the finish’s instructions. I’ve used it as a cutting board and as a food display board (what most people call “charcuterie” even though charcuterie traditionally means the assembling of cured meats and meat products like prosciutto, salami, rillettes, and/or mousse. If you put it in Google translate, it just says, “deli.” You might have a couple of other items on the board to accompany the meats, but the meat is the center show. Now everyone calls cheese boards and everything else “charcuterie,” which kind of gets on my nerves unless you’re saying it ironically, but I think that 99% of people truly believe that “charcuterie” means a catch all for “finger foods” and that really grinds my gears; thanks for coming to my TED Talk, whew.)
Anyway, you can see pictures of the process below, including the board being used to display food for one of our celebrations of the Sabbath. Caroline assembled it and it was pretty. And that smoked salmon from Costco was amazing.
Homemade Mushroom Umami Powder
By Zach
Last Christmas Brittany pulled my name in a Secret Santa exchange and part of her gift was a mushroom growing kit. From start to harvest it was under two weeks. After I cut them off the box I put them in my Ninja Foodie and used the dehydrator setting to dry them out overnight. The next morning I put them in a bullet blender and ground into a fine powder that makes for a good umami kick to many dishes.
Water Collection
Water Collection
By Zach
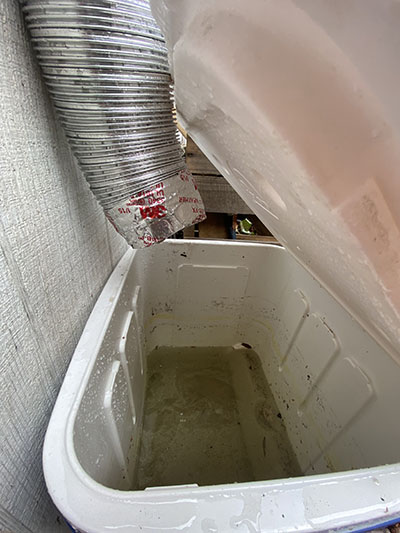
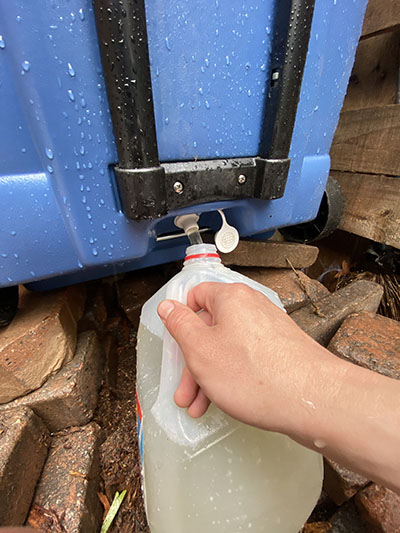
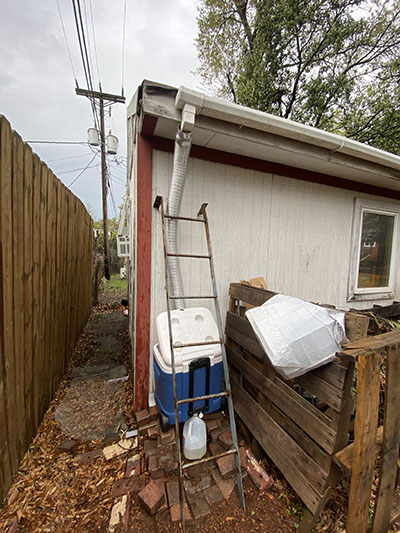
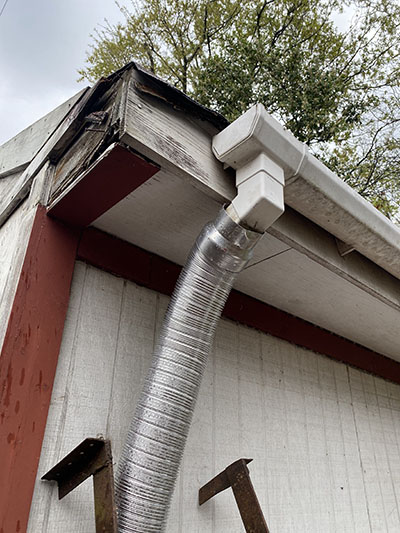
I’d like to be able to water my garden with rainwater as much as possible. I have long term plans for this, but in the meantime I want something that will be good enough. I used an old dryer exhaust a neighbor was throwing out to connect the downspout of the short gutter on the shed beside our garden to a cooler with a drain spout raised up on some bricks I hauled in the basket of my ebike from a different neighbor’s trash pile.
I did this all right before a storm following three of the most pollen heavy days I’ve seen in Columbia in several years, so I ended up with a good bit of pollen in the water. This could be a big problem if I was running a large system, but I think I’ll be fine with the small capacity and rapid turnover over the water in it.
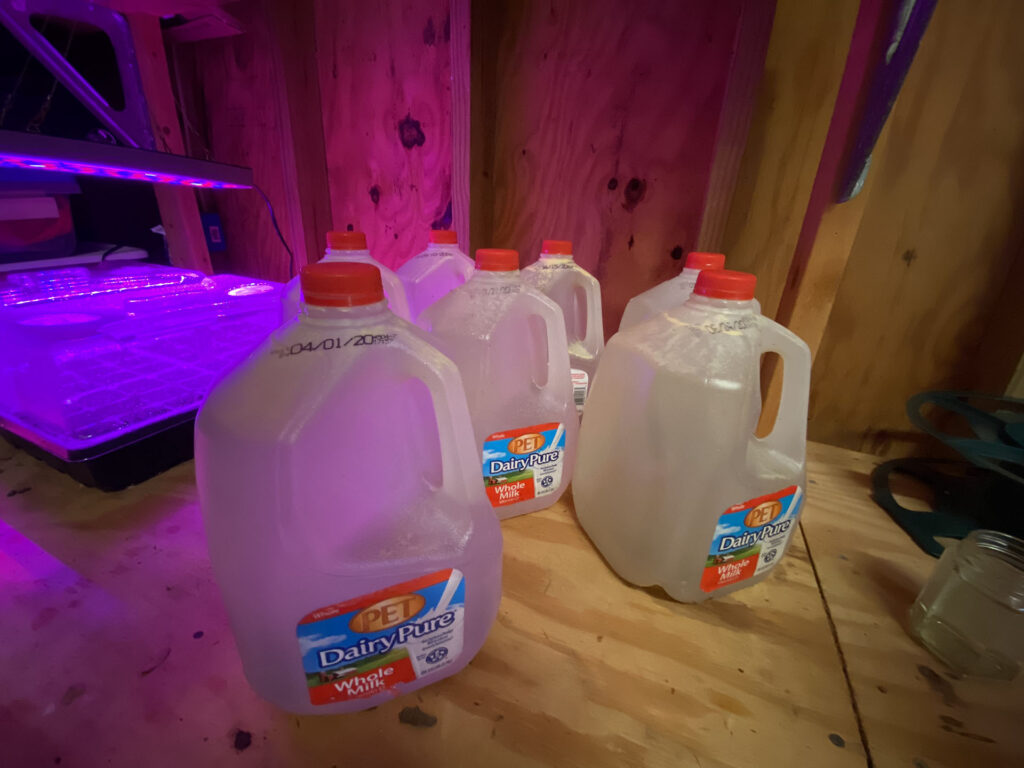
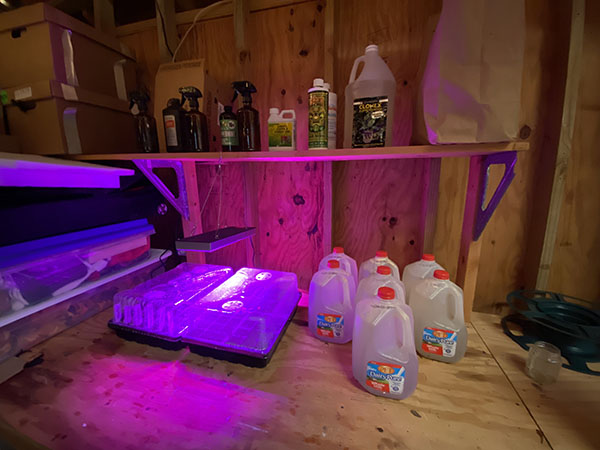
By elevating it on the bricks I was able to fit old milk jugs that I had washed out and saved to collect some of the water. I’m storing this in my shed, and will probably move it to a darker place, as sunlight can promote algae growth fairly quickly.


Building a Raised Garden Bed
Making a Raised Garden Bed From Discarded Pallets
The First Attempt
If Pinterest has done anything for us, it has brought awareness as to how useful those leftover wooden pallets can be. From fences, to beds to houses to raised garden beds, these discarded pieces of wood have been used to build some pretty creative things at a fraction of the price it would otherwise cost. To look at the beautiful Pinterest pictures, one might be inspired to build one’s own pallet project. One might even be fooled into thinking that said project will be incredibly easy. It’s just building something out of scraps, right? How hard can it be?
It depends. This foray into raised bed building is definitely on the rudimentary level, but I say that anything involving some measuring and the use of power tools isn’t really easy. Caroline first cut down a couple of pallets and made wood planks that were roughly the same size. She placed smaller planks vertically across a longer horizontal plank to hold everything together for each wall, two long walls and two short walls. The long walls consisted of ten vertical planks, while the short walls consisted of five. The corners were held together by square rods.
At the beginning of this project, we were moving along quickly by nailing the planks together for each wall with a hydraulic nail gun. Unfortunately, we broke that and had to switch to the drill where we finished the project by drilling screws into the planks. It’s not as “pretty,” the process was a little slower, and we risked splitting the wood more, but it worked. The whole point with this is to use what you have. If one thing doesn’t work, move on to something else! More people are likely to have a drill and screws available to them than a nail gun.
After assembling the walls of the garden bed, we moved it to the yard where we planned to plant and attached the walls together by screwing the corner pieces together. Then it was finished! Caroline planned to rub it with linseed oil later to naturally preserve it a bit better, but a raised bed like this isn’t meant to last forever. We just need it to hold soil for a bit. Eventually, the wood will return to the earth from whence it came, completing the circle of life.
Hopefully this will get your brain juices flowing to make a project of your own out of discarded materials.