Quick & Dirty Chicken Stock

dirty stock header

Quick & Dirty Chicken Stock

By Zach

Whenever I eat chicken wings I save the bones to make a quick and easy chicken stock. This stock isn’t going to make the best soup, but its good enough to use as a substitute for water in rice or grits to give your dish an extra boost of flavor.

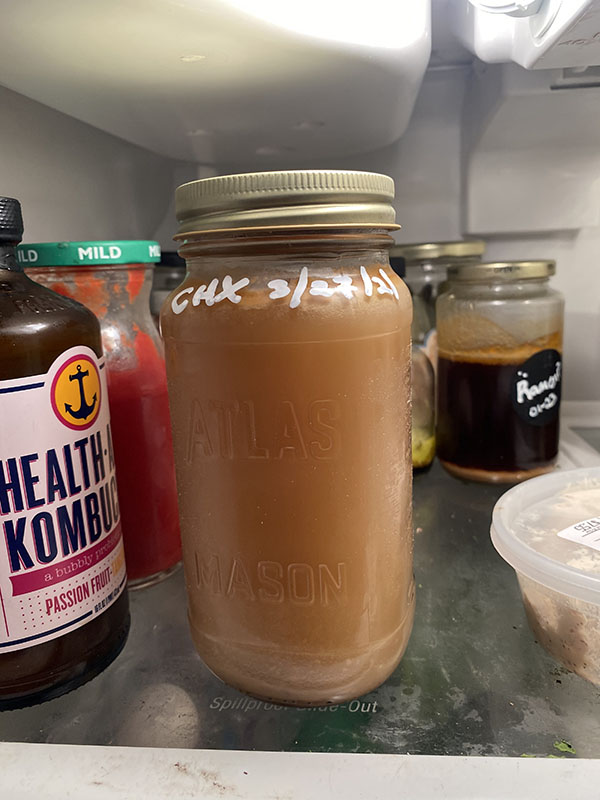
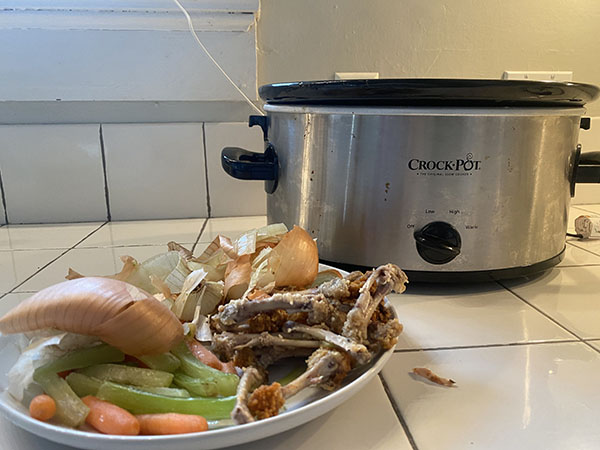
Along with the bones, I also saved the carrots and celery that came on the side. Then I went to my freezer and grabbed my bits for broth box, a box where we always throw skins and chunks of garlic and onion. I put everything plus a few peppercorns in a slow cooker, covered with water, and set on high all day. At the end of the day I threw it on the stove and reduced it down a good bit and stored in an old pasta
sauce jar in the fridge (labeled and dated of course.)

scraps plated for stock

Stock scraps

The stock scraps are ready to go in.


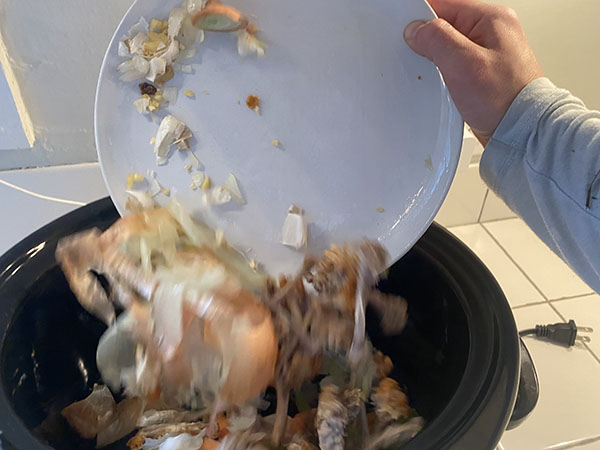
dumping scraps in the crockpot

Dumping the scraps

In go the scraps to the CrockPot!


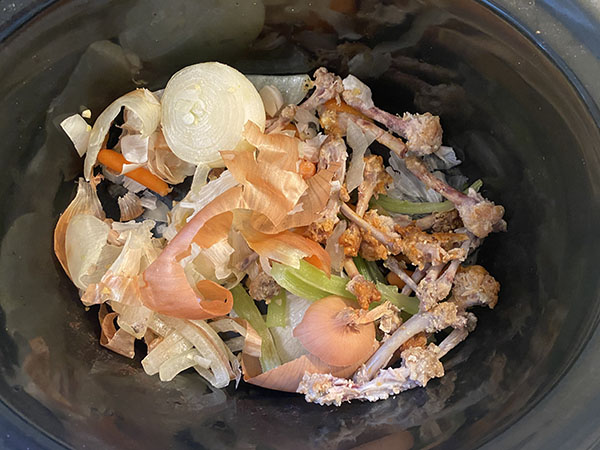
scraps in pot

Waiting on water

Just add water.


water added to scraps

Water added

Water is added, so they’re ready to go.


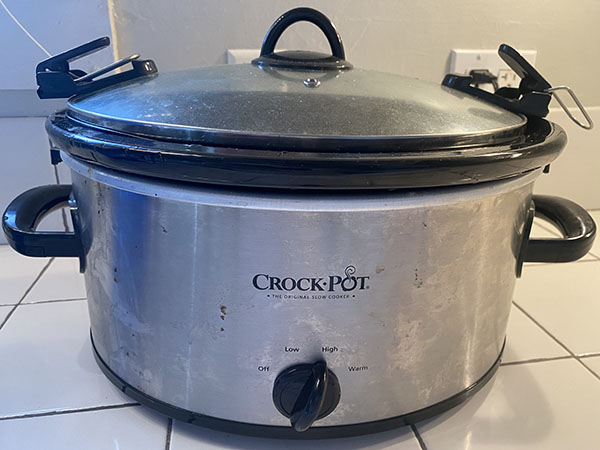
CrockPot

Hanging out in the CrockPot

Now the flavors do their thing.


quick chicken stock

Quick Stock

Now we have a quick chicken stock to flavor our grains or whatever else we want.

Water Collection

Water jugs in a shed

Water Collection

By Zach


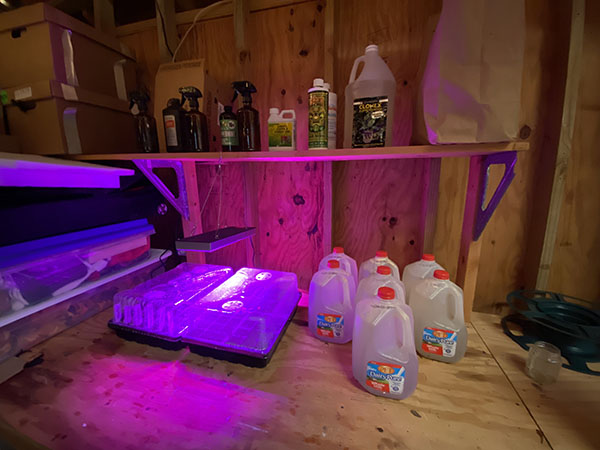
water jugs in shed with seedlings

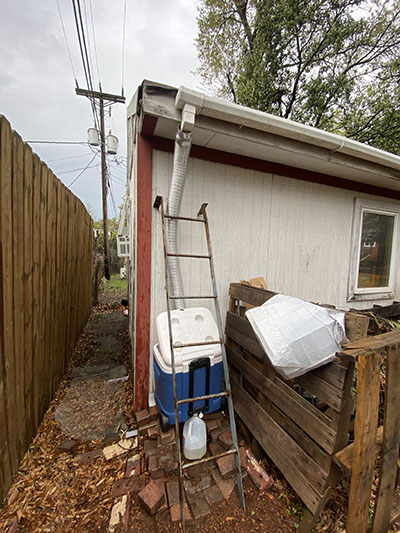
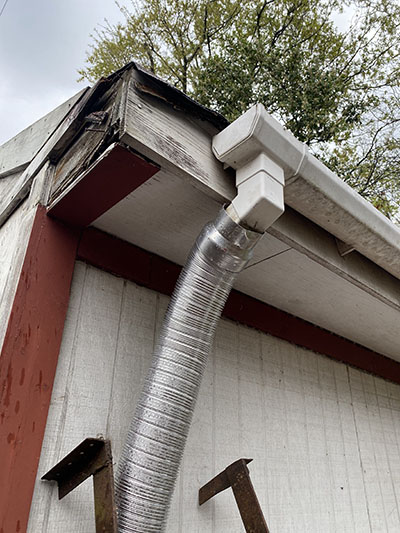
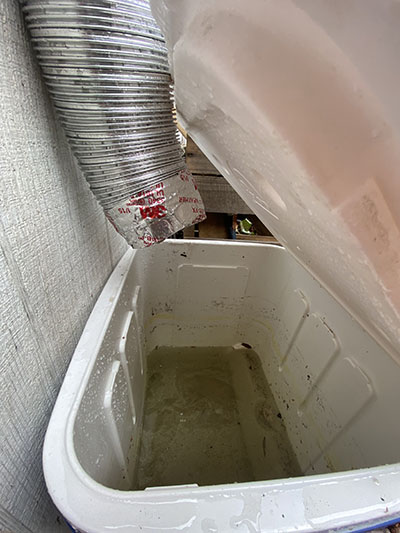
I’d like to be able to water my garden with rainwater as much as possible. I have long term plans for this, but in the meantime I want something that will be good enough. I used an old dryer exhaust a neighbor was throwing out to connect the downspout of the short gutter on the shed beside our garden to a cooler with a drain spout raised up on some bricks I hauled in the basket of my ebike from a different neighbor’s trash pile.

I did this all right before a storm following three of the most pollen heavy days I’ve seen in Columbia in several years, so I ended up with a good bit of pollen in the water. This could be a big problem if I was running a large system, but I think I’ll be fine with the small capacity and rapid turnover over the water in it.

water collection tube

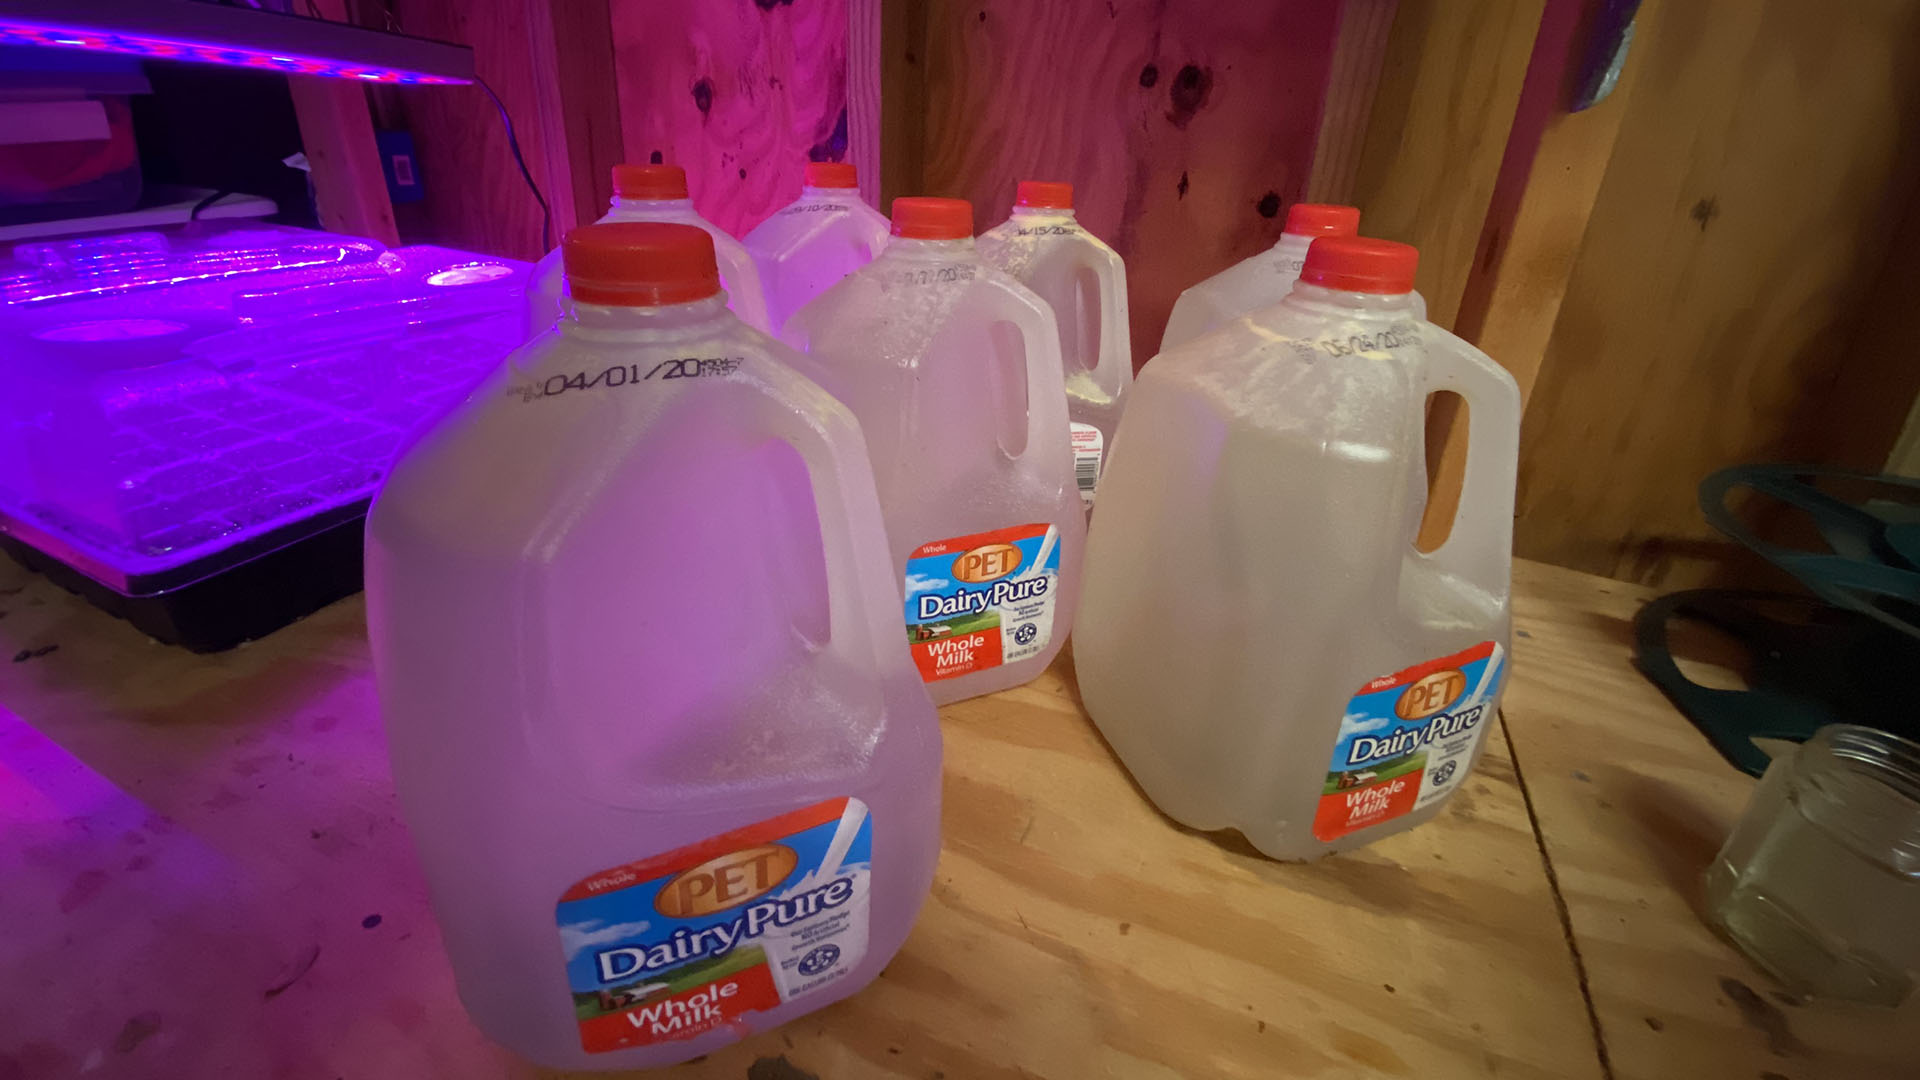
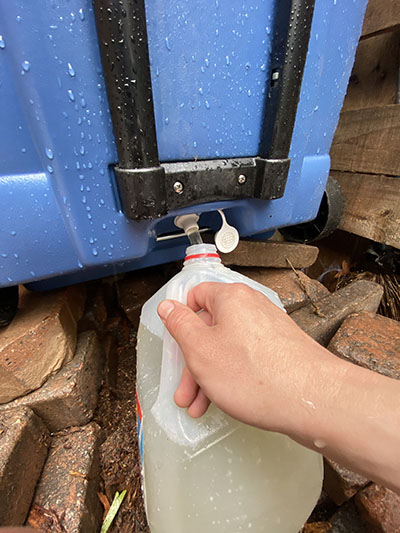
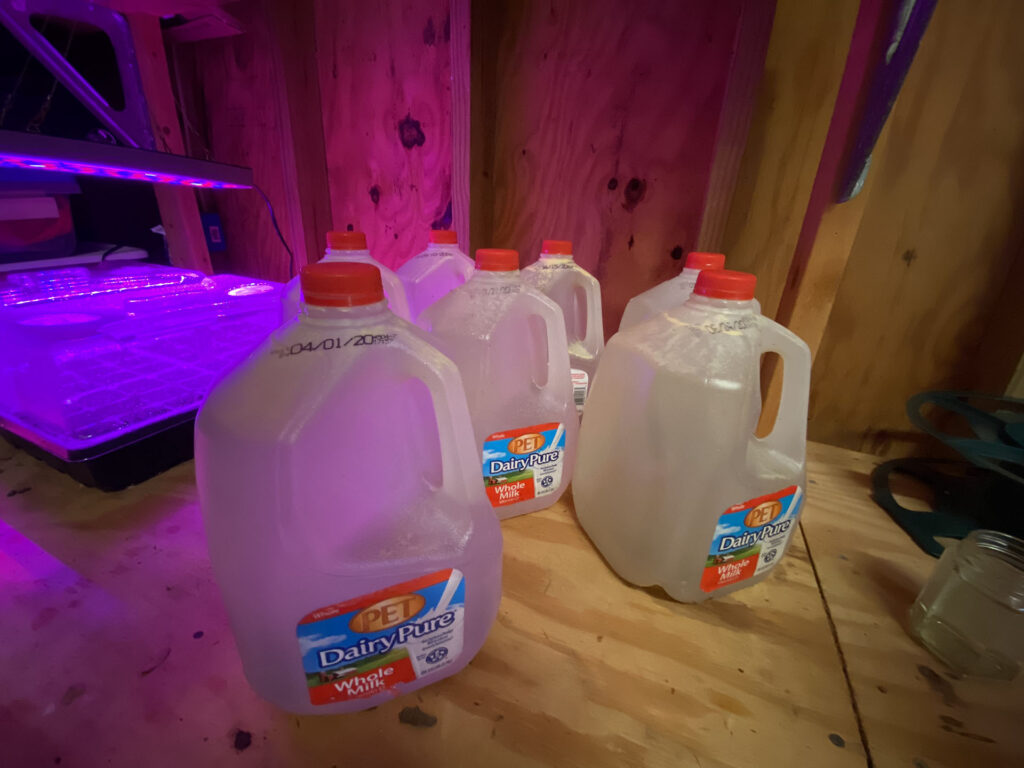
By elevating it on the bricks I was able to fit old milk jugs that I had washed out and saved to collect some of the water. I’m storing this in my shed, and will probably move it to a darker place, as sunlight can promote algae growth fairly quickly.


Water collection cooler
collecting rain water in a jug
rain water jugs in shed

Recycled Fire

Recycling Fire

By April

I kept getting these ads on Instagram for a “portable bonfire.” There were about $20 a pop and looked really simple. One even said that it used recycled paper and soy wax. I had a metal container from one of my favorite candles that had burned out, so that got me to thinking, “I bet I could make something similar for no extra money.” And then I did. 

I will note that my end product is not as well put together and neat as the ones that you can purchase. I probably wouldn’t roast marshmallows over this one either because of the wax that I used. My goal was not s’mores though in this particular experiment. It was merely to see what was possible. 

First, I needed to figure out how to make briquettes with paper scraps so that the fire would have something to light onto. I watched a couple of YouTube videos and figured out my method. 

I gathered paper that I was planning to shred eventually and shredded it up by hand, just ripping into strips. If you have an actual paper shredder, this will be an incredibly faster process for you. Making these briquettes requires a lot more paper than you would think, so shred a lot. 

Put all of the shredded paper in a bucket and cover over with water. I think I poured hot water over it. If you don’t have hot water, it’s not a big deal. I took a stick and stirred the paper around a good bit to help it all soak and start breaking down a bit. 
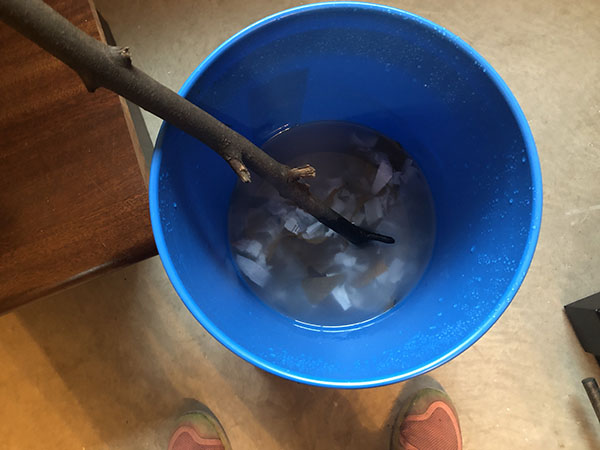
bucket of soaked paper

Then I let the paper soak for a day or two. When I came back to it, it was a lot mushier, which was how I wanted it. I needed to compact the paper mush and get the water squeezed out, so I used a mini hamburger press that worked decently enough. I experimented with other shapes and even make a cube-ish shape with just my hands. Then I set the briquettes out to dry. This took roughly a week. 
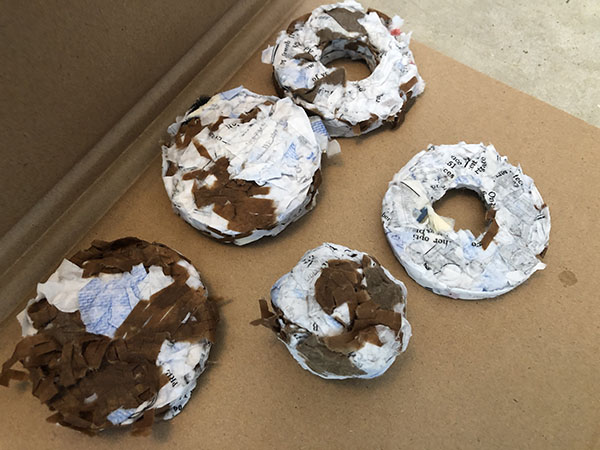
recycled paper briquettes

Once my briquettes dried, it was time to figure out the wax. I had a few candles with wicks that had met their end, so I collected all of the leftover wax into a glass jar.
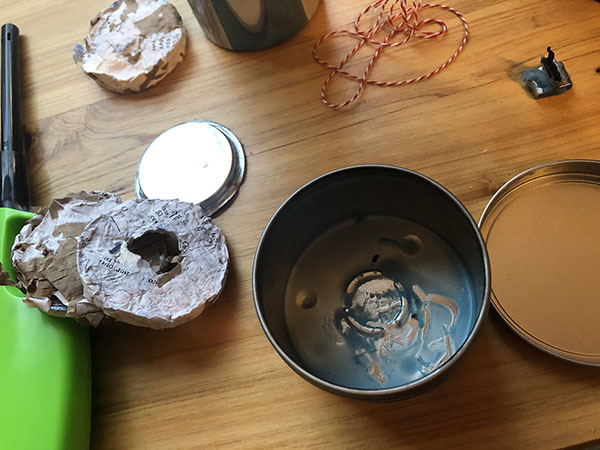
portable fire items

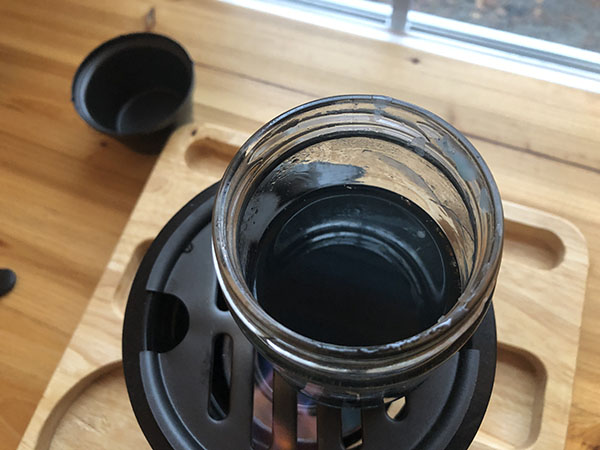
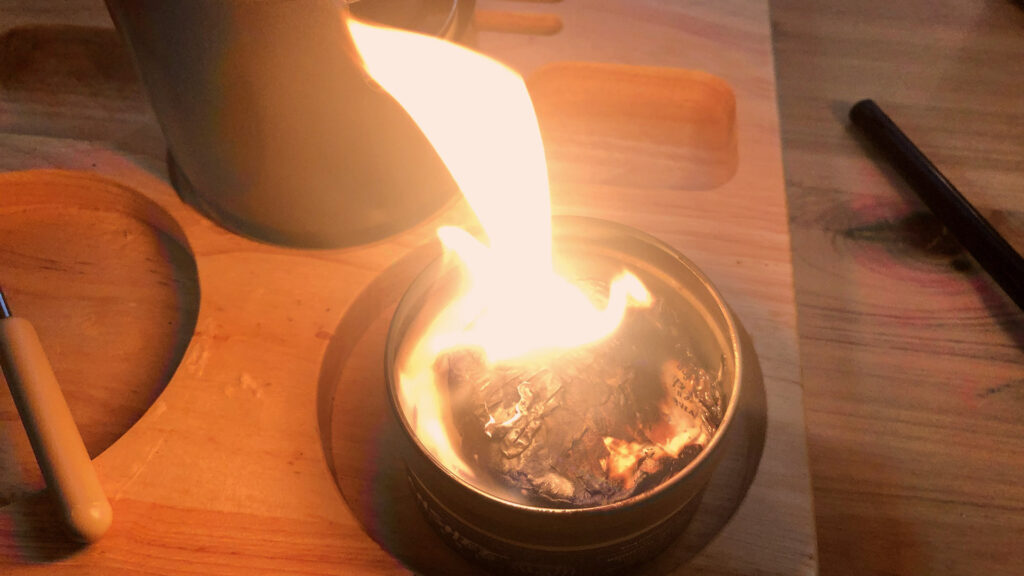
I remembered that I had an indoor s’more kit that heats the marshmallows using Sterno cans. Perfect for heating wax! So I set the jar on top of the kit and let it melt the wax cocktail down. I used oven mitts to move the jar around and to keep it from getting too hot. 
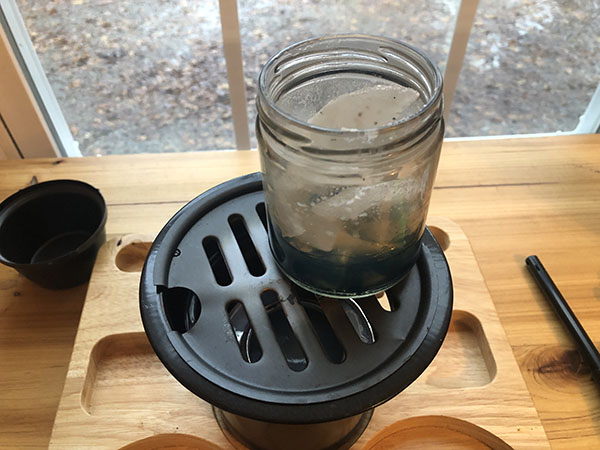
wax melting over heat

My waxes were from various candles with various scents, but that wasn’t a big deal for this experiment. I also didn’t bother straining out any debris because, again, perfection was not my goal. 
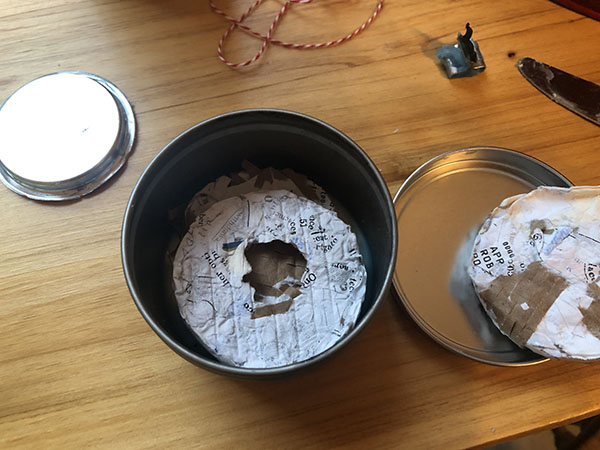
paper briquettes in tin

melted wax

I placed a few briquettes in the can and poured my wax over them. I didn’t have quite enough wax to fill the can entirely, but I made sure to pour wax over the tops of the briquettes and let it soak in a bit. 
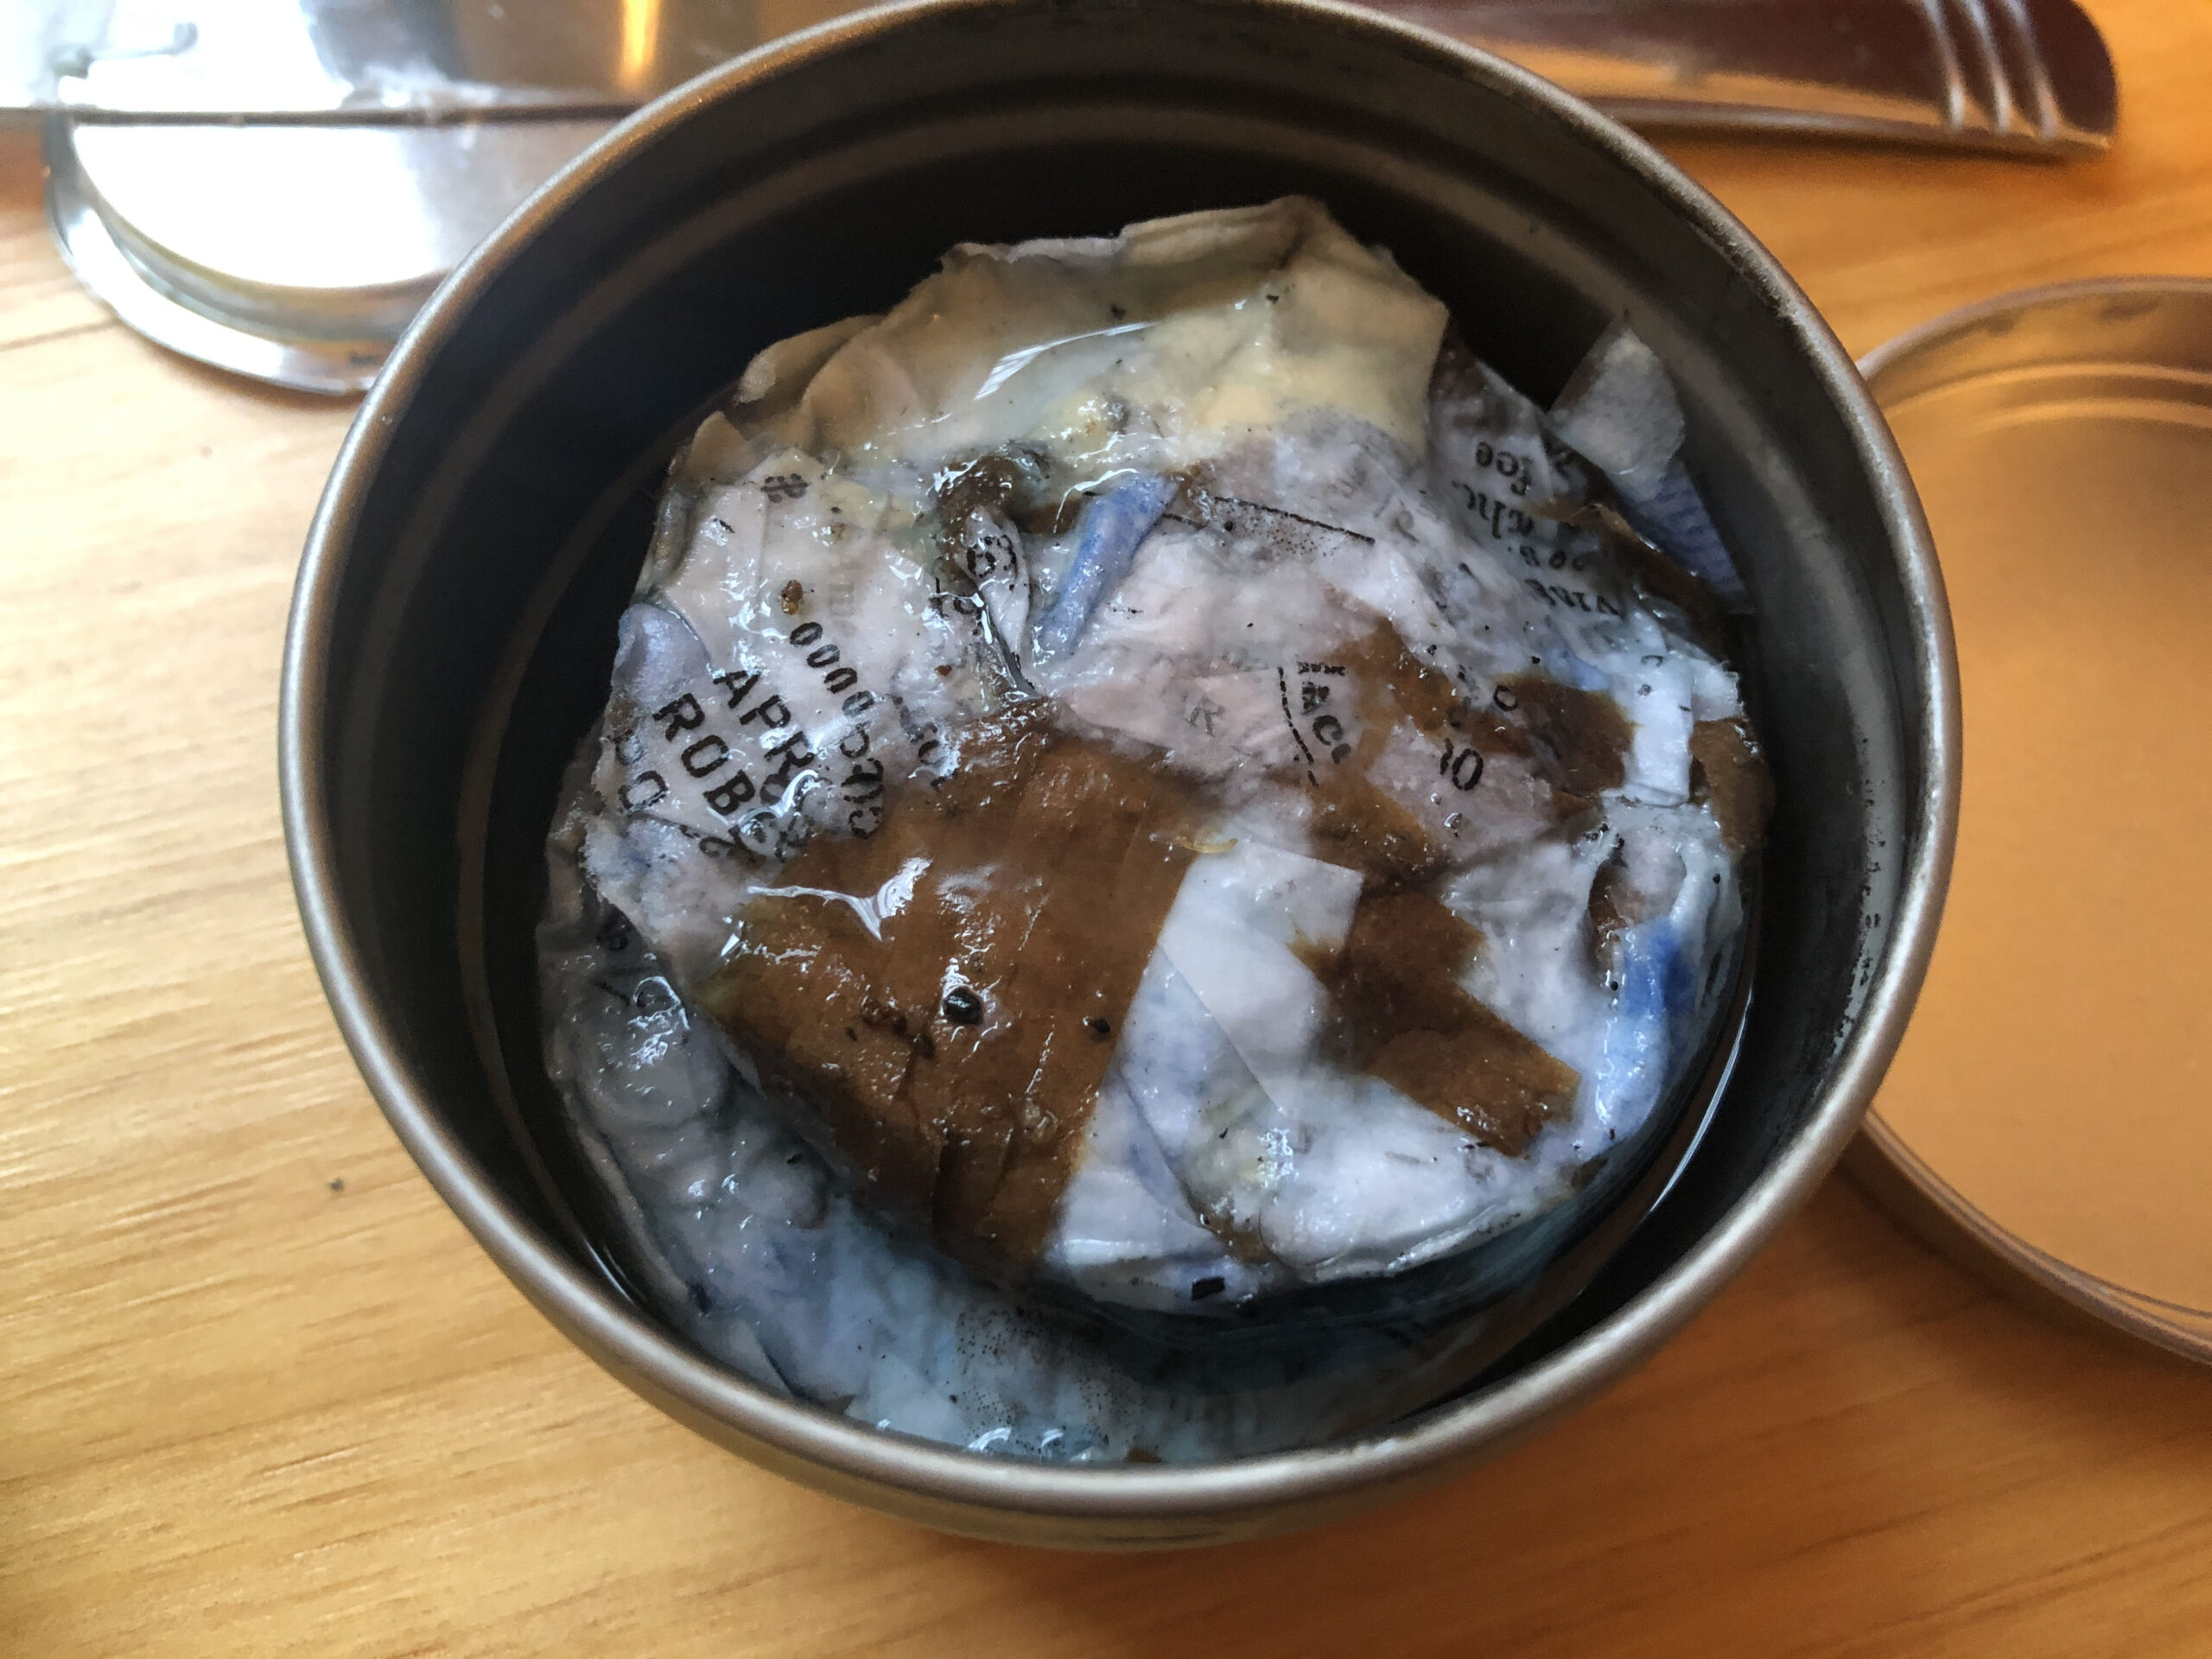
melted wax over paper briquettes in tin

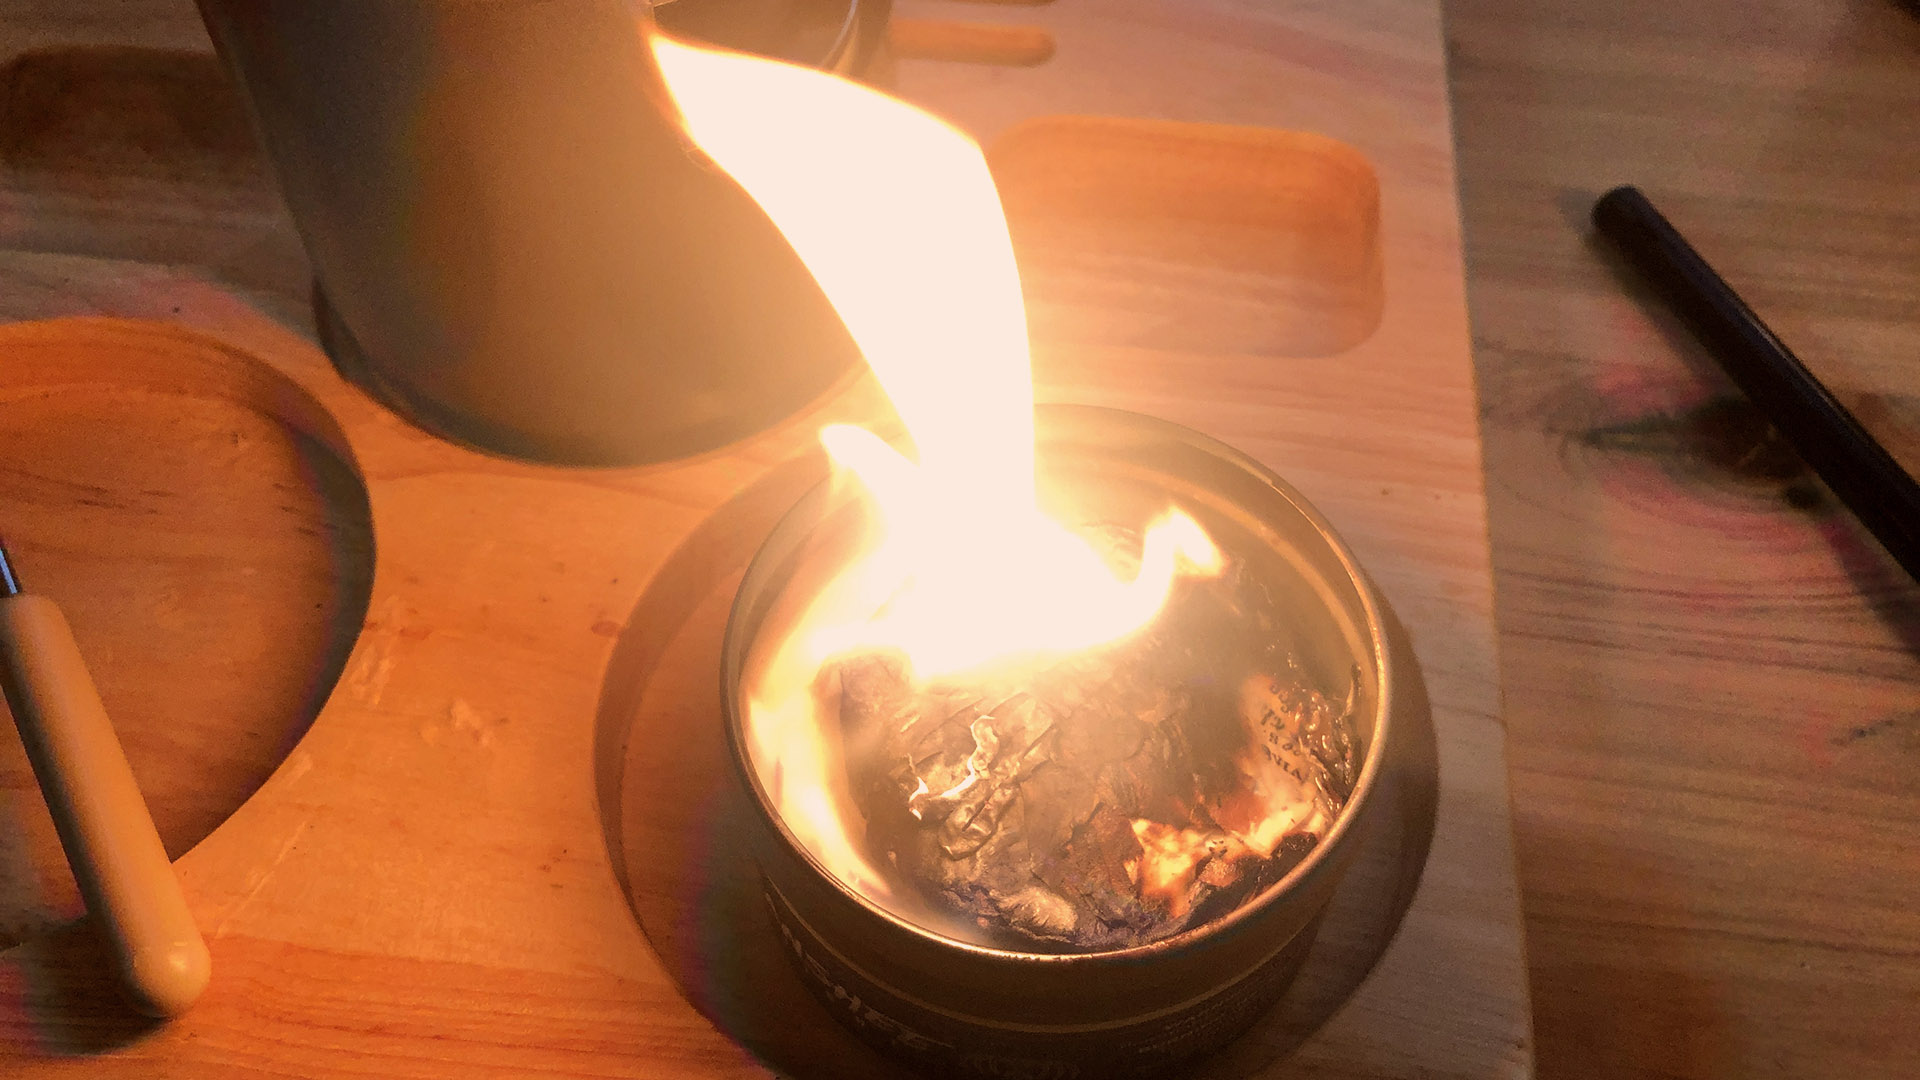
Once the wax hardened, I gave it a test by lighting up where the briquettes were. Success! Then to put out the fire, I just put the lid back on the tin.
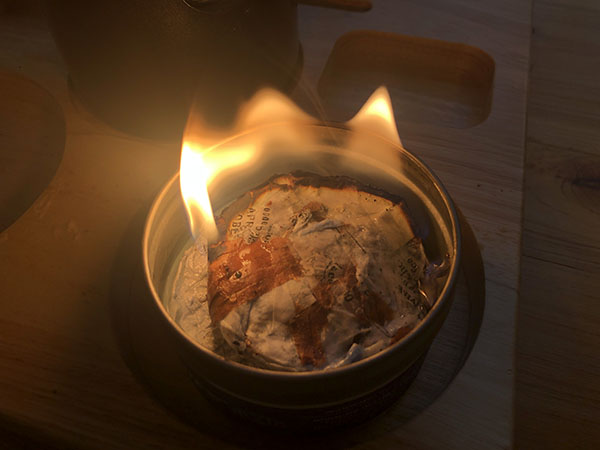
portable campfire lit on fire

While my version is not as clean as the $20+ portable fire that you can buy online, it did create a portable fire and I was able to use all materials that would have gone in the trash otherwise. 
Building a Raised Garden Bed

Making a Raised Garden Bed From Discarded Pallets
The First Attempt

If Pinterest has done anything for us, it has brought awareness as to how useful those leftover wooden pallets can be. From fences, to beds to houses to raised garden beds, these discarded pieces of wood have been used to build some pretty creative things at a fraction of the price it would otherwise cost. To look at the beautiful Pinterest pictures, one might be inspired to build one’s own pallet project. One might even be fooled into thinking that said project will be incredibly easy. It’s just building something out of scraps, right? How hard can it be?
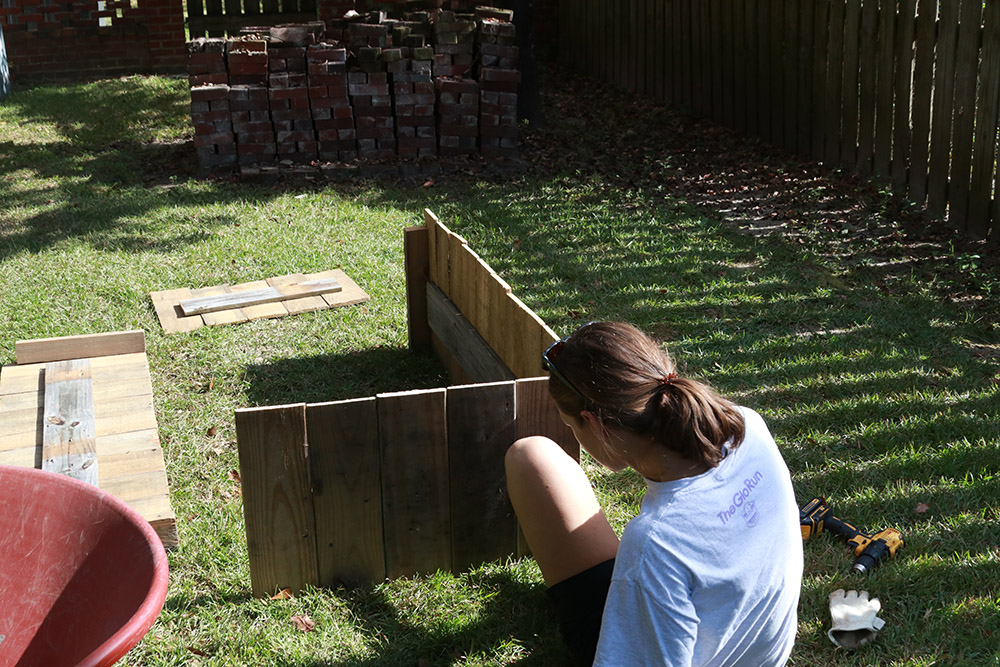
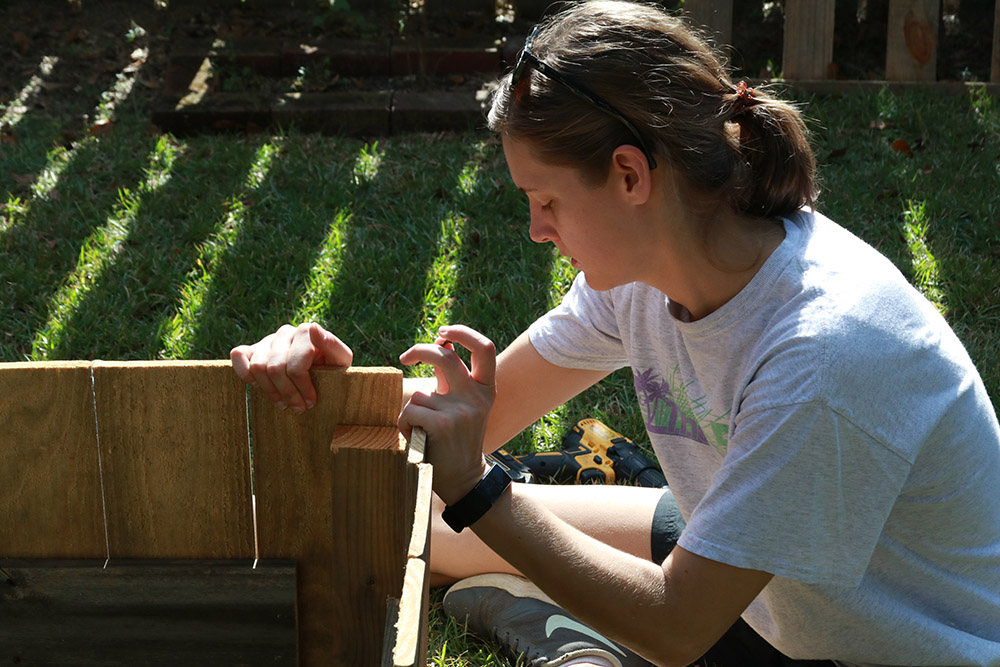
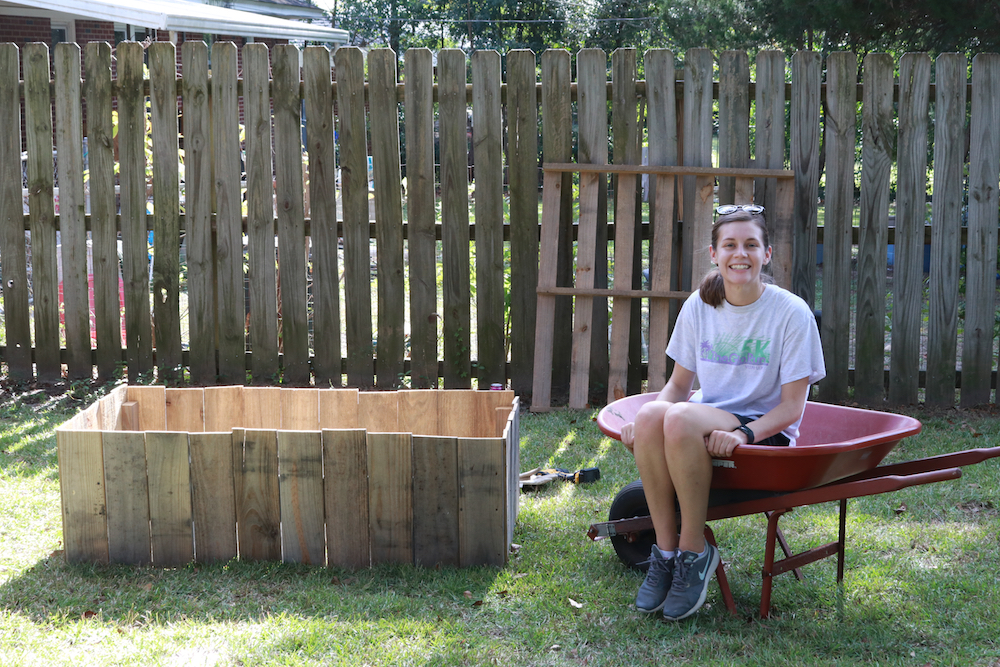
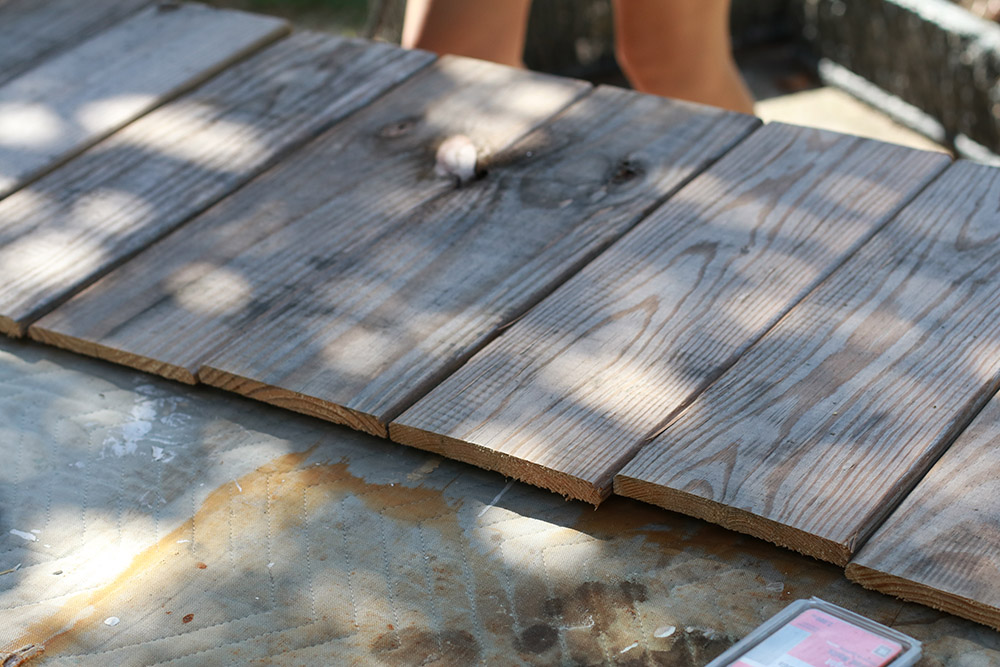
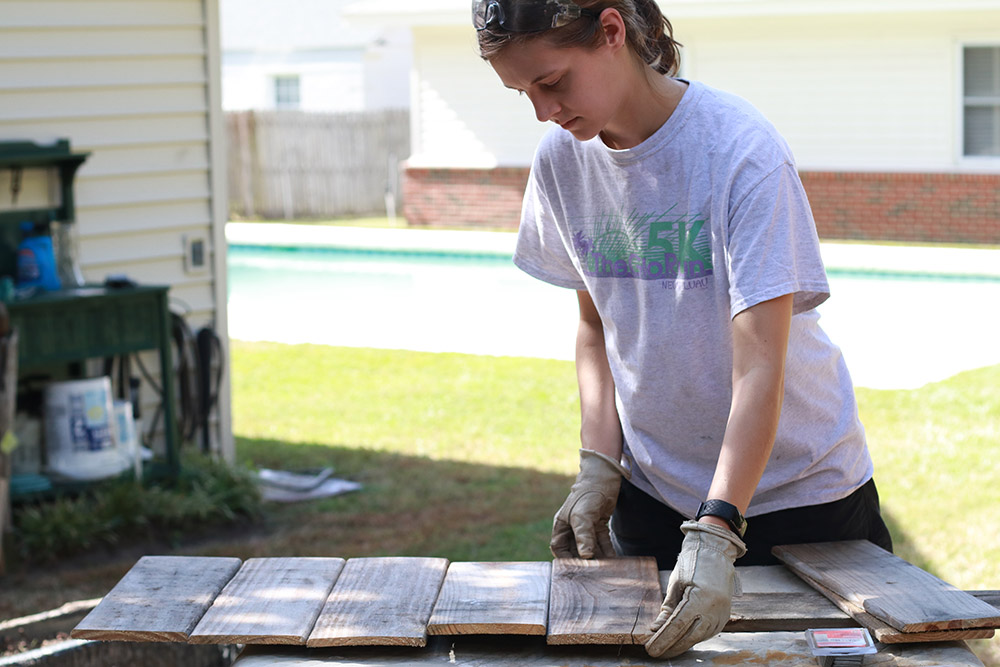
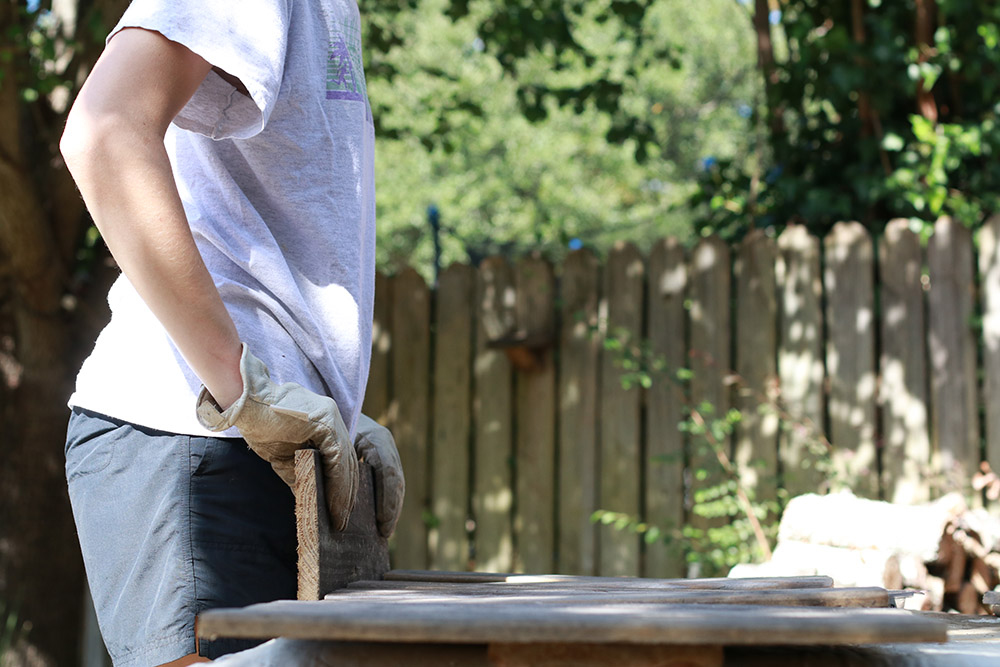
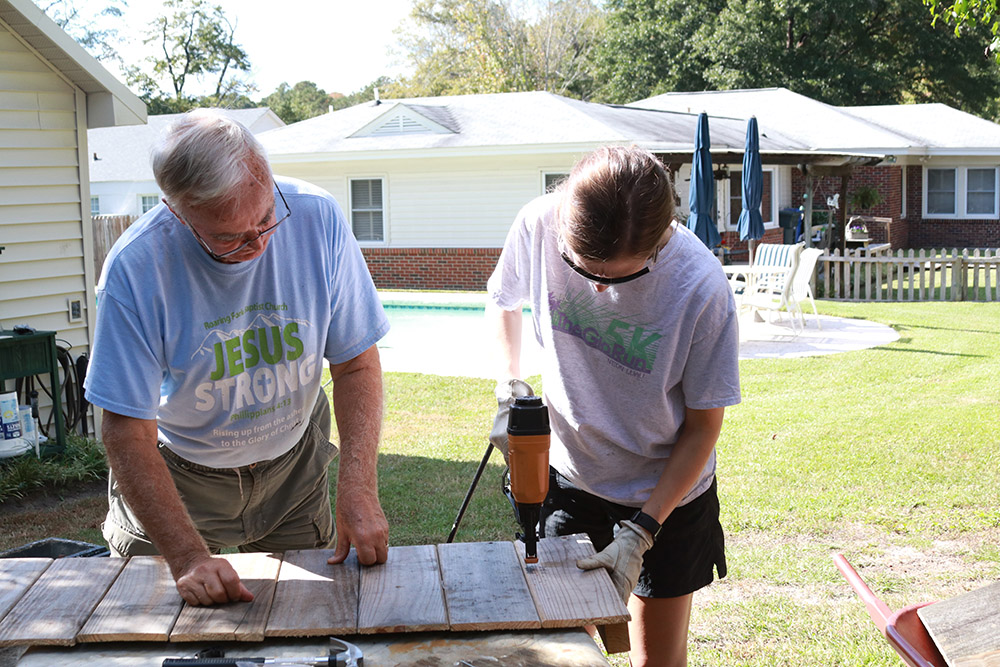
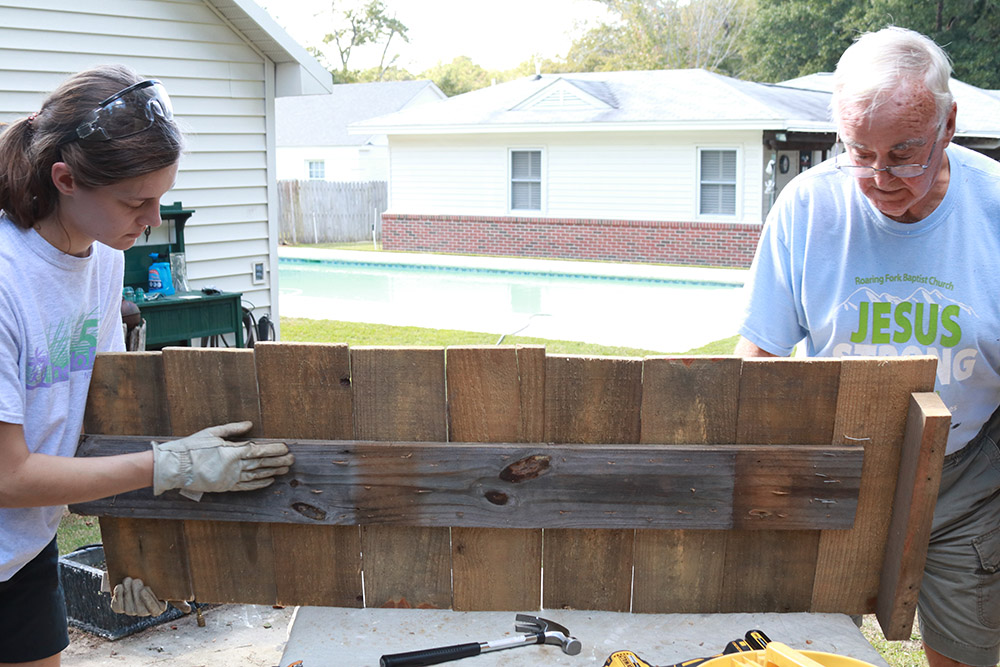
It depends. This foray into raised bed building is definitely on the rudimentary level, but I say that anything involving some measuring and the use of power tools isn’t really easy. Caroline first cut down a couple of pallets and made wood planks that were roughly the same size. She placed smaller planks vertically across a longer horizontal plank to hold everything together for each wall, two long walls and two short walls. The long walls consisted of ten vertical planks, while the short walls consisted of five. The corners were held together by square rods.

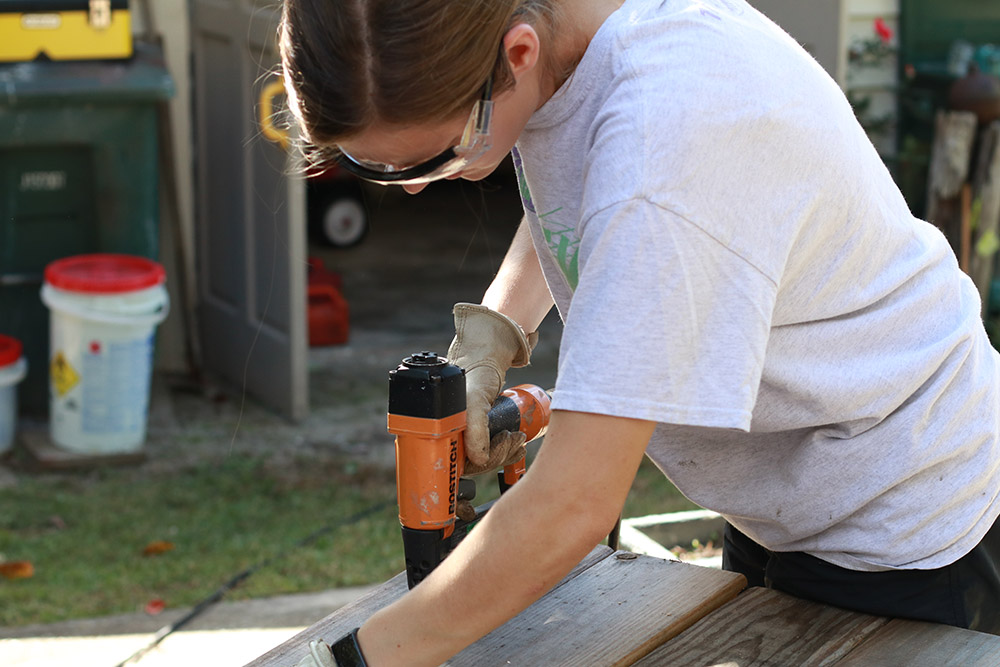
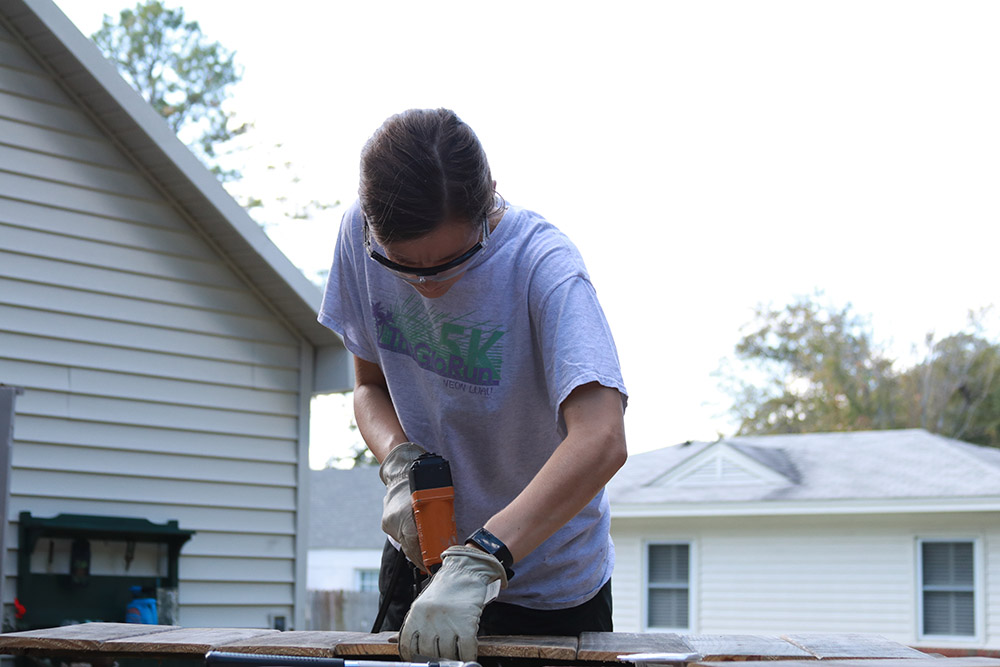
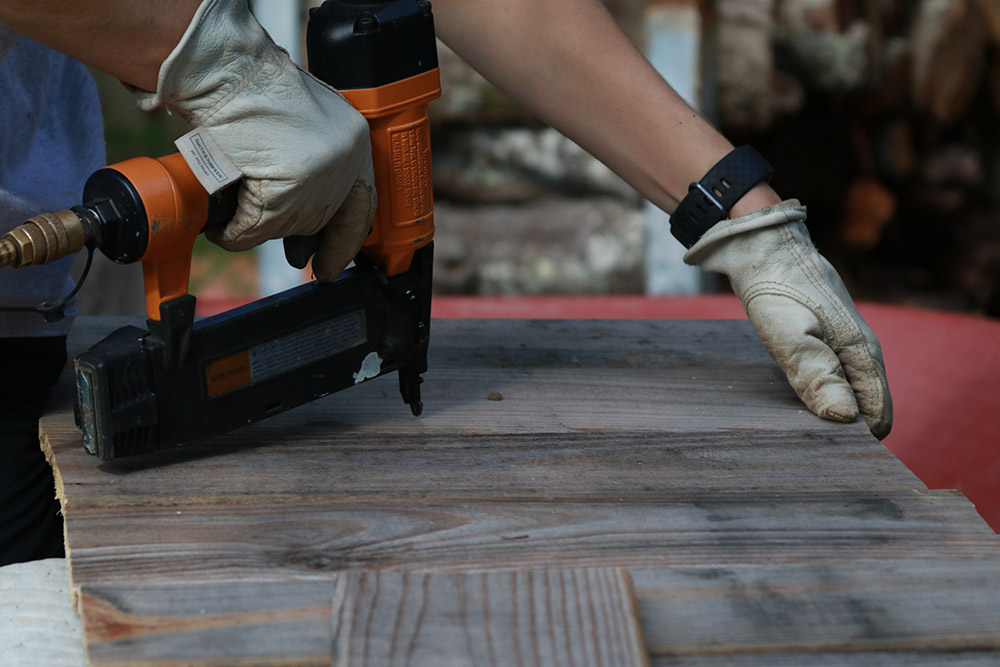
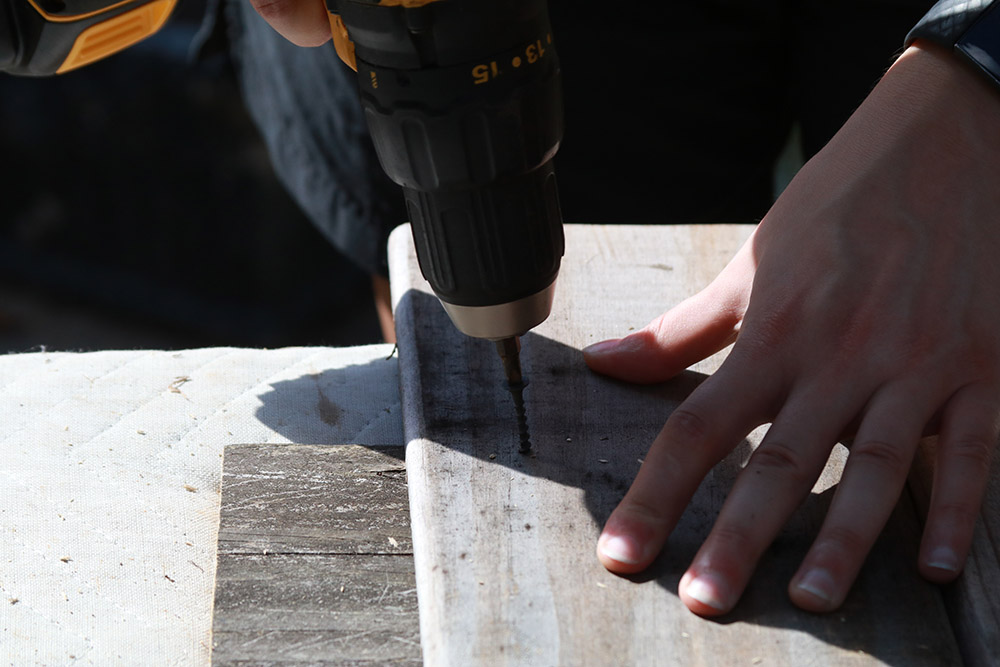
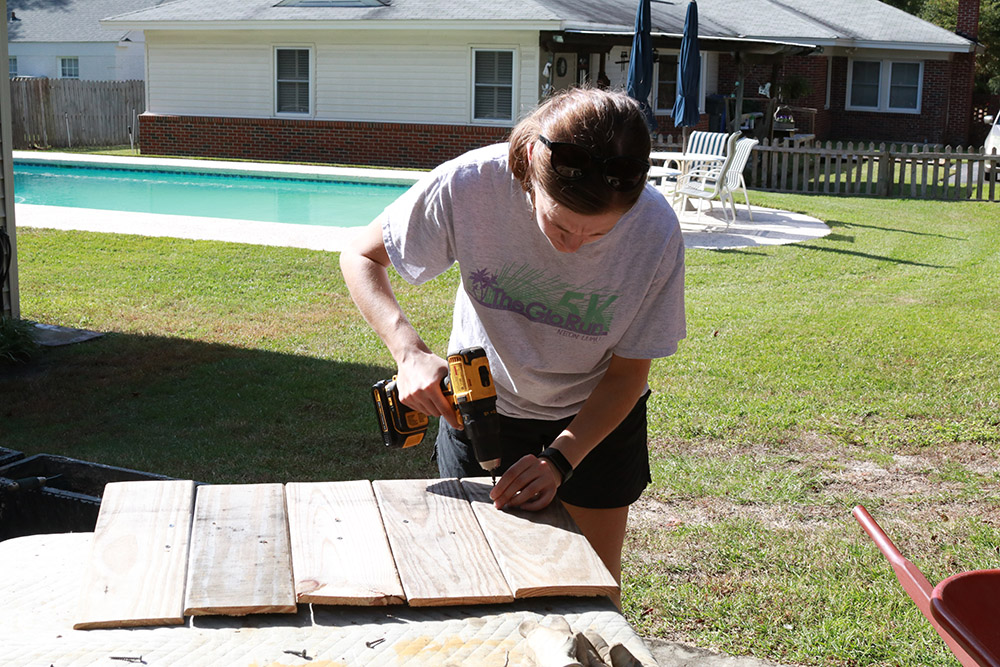
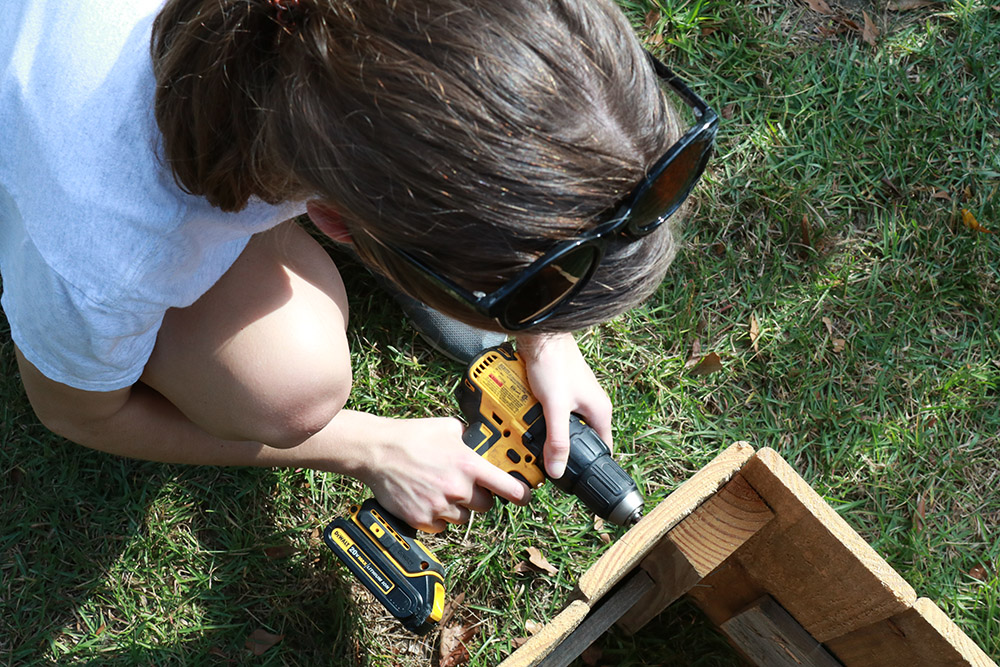
At the beginning of this project, we were moving along quickly by nailing the planks together for each wall with a hydraulic nail gun. Unfortunately, we broke that and had to switch to the drill where we finished the project by drilling screws into the planks. It’s not as “pretty,” the process was a little slower, and we risked splitting the wood more, but it worked. The whole point with this is to use what you have. If one thing doesn’t work, move on to something else! More people are likely to have a drill and screws available to them than a nail gun.

After assembling the walls of the garden bed, we moved it to the yard where we planned to plant and attached the walls together by screwing the corner pieces together. Then it was finished! Caroline planned to rub it with linseed oil later to naturally preserve it a bit better, but a raised bed like this isn’t meant to last forever. We just need it to hold soil for a bit. Eventually, the wood will return to the earth from whence it came, completing the circle of life.

Hopefully this will get your brain juices flowing to make a project of your own out of discarded materials.